can y'all believe that it's time for school to start back?! crazy!!
what's really crazy to me is that this is the THIRD year that i haven't had a "first day of school" as a teacher. i've been home with my girl(s) for three years. what a blessing it's been! even though libbi's school won't start back until after labor day, i decided to go ahead and prepare the best way i know how....
so i crafted.
and i made a burlap door hanger :)
it was really easy - my kind of craft - so i thought i'd share! :)
DIY burlap door hanger:
i started with some burlap. i have no idea how much i used. i just used my mathematical skillz and "eye-balled" it.
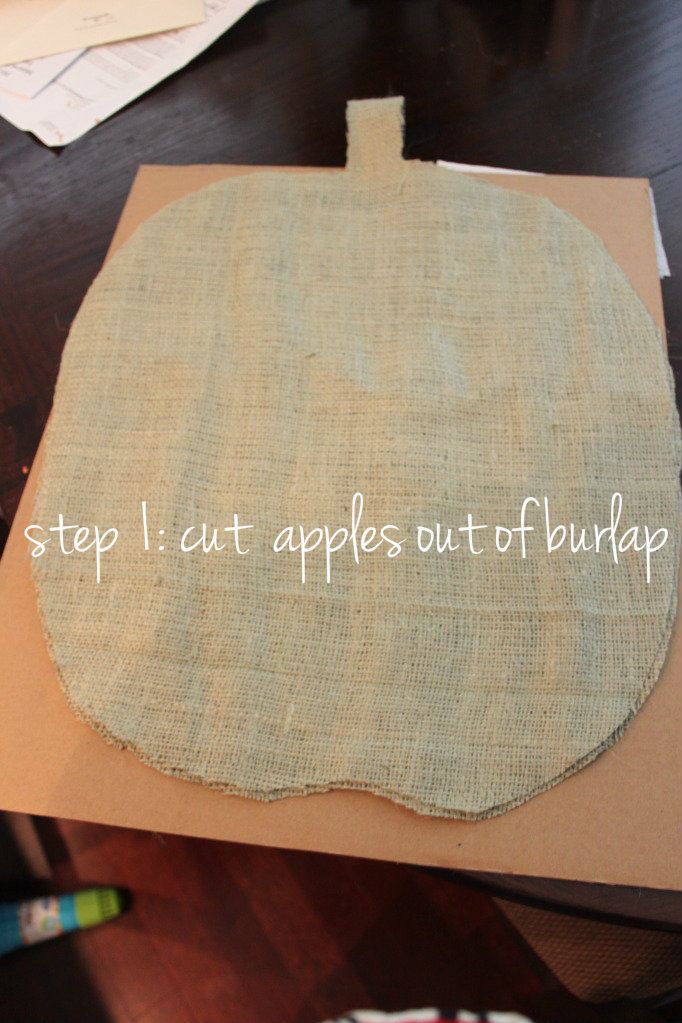
(and if you're starting to roll your eyes already, just be prepared. i said this was a DIY, but i never said it would be technical) ;-)
i did leave the burlap folded over when i cut it so i would have a two pieces that matched up perfectly. i left mine attached by the "stem".... not really sure why, it just seemed like a good idea at the time. :)
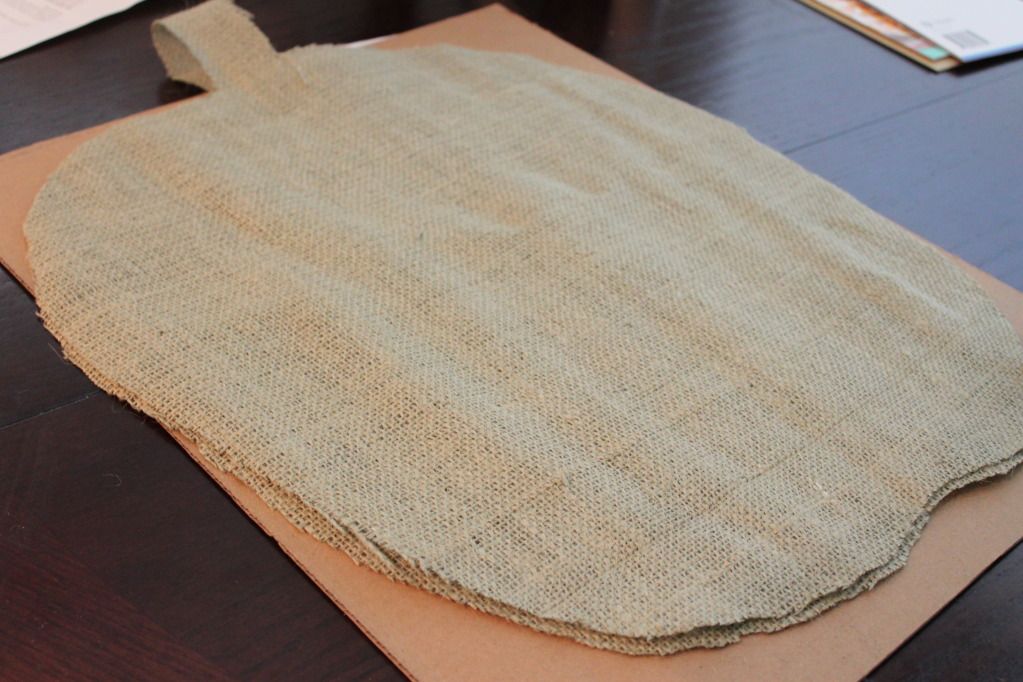
i read tutorials where some people used red burlap to make their apples instead of painting them. but the majority of them i read said that they had a difficult time painting OVER the red when adding in details, so i decided to go with the natural color and just paint it red.
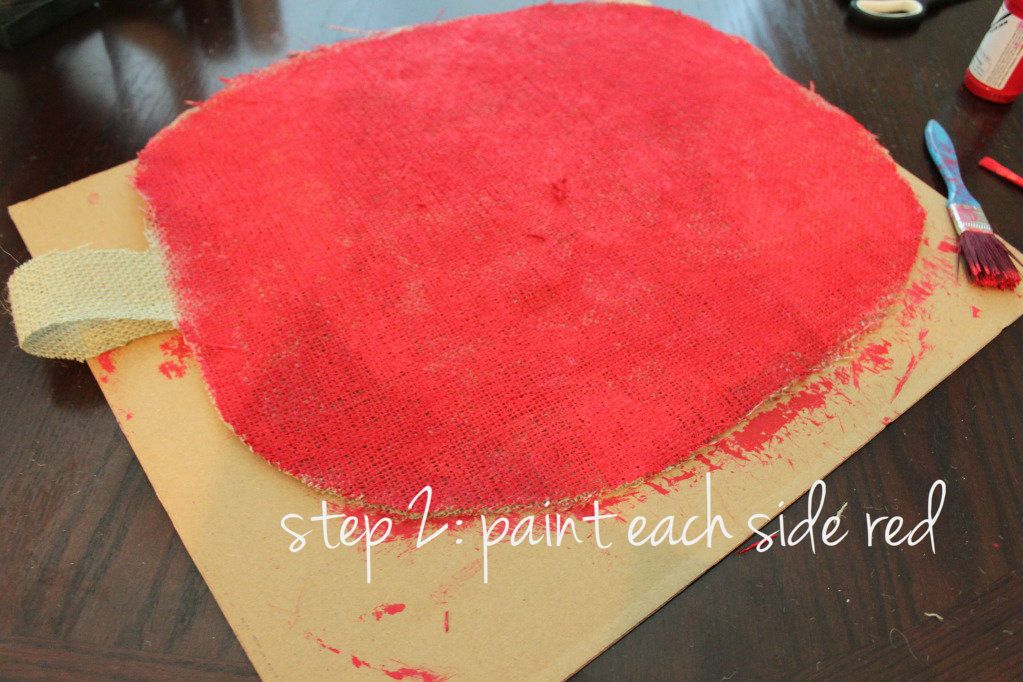
i used some red paint i had lying around in the closet. i just put the apple on a piece of cardboard and began painting. i used a paintbrush, but i think you could probably use a sponge, too. (psa: be prepared for your work space to look like a crime scene. and your hands to look like they've been through a blender. and make sure to explain to your 3 year old that it's JUST paint before she sees your hands and freaks out thinking you are covered in boo-boo's. horrified is an understatement. maybe i can sell these hangers as a way to pay for her therapy??)
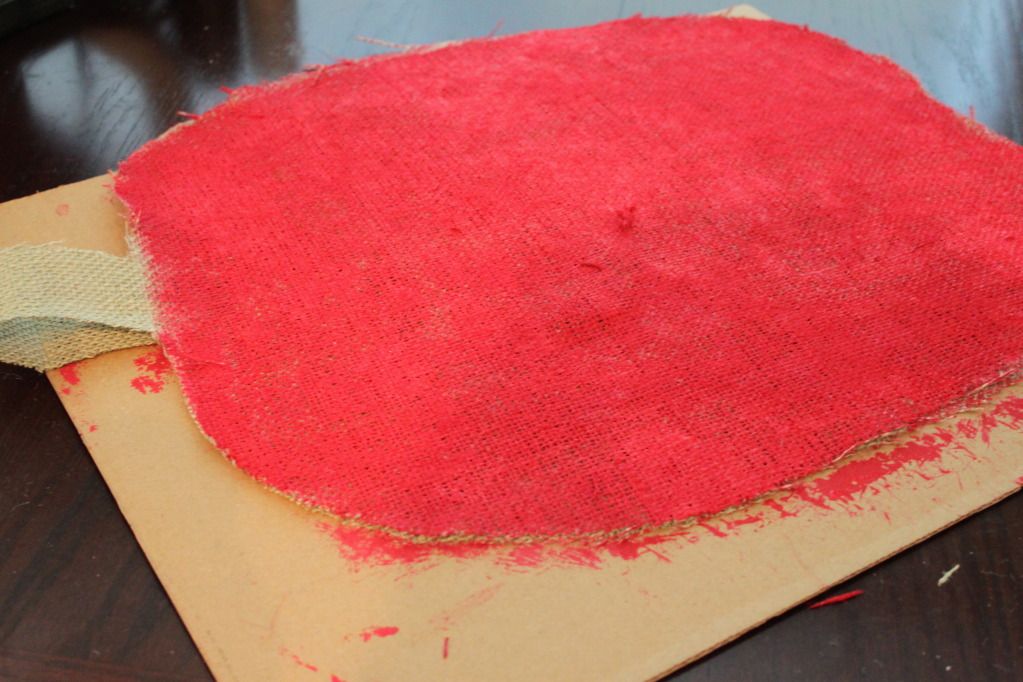
anyway, i painted both sides of the apple. well almost... i ran out of paint, so the back isn't completely red. (but i won't tell if you won't) :)
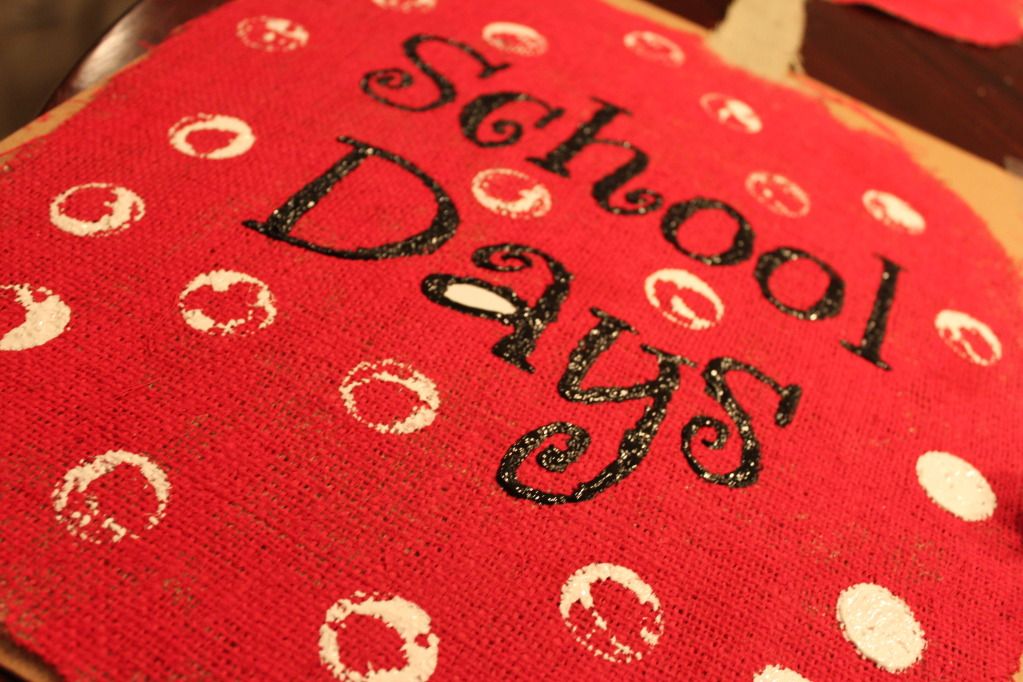
after it dried. i used my trusty 'ol silhouette to cut out a template of the font i wanted to use. you could print this off your computer, trace it, or just freehand it.
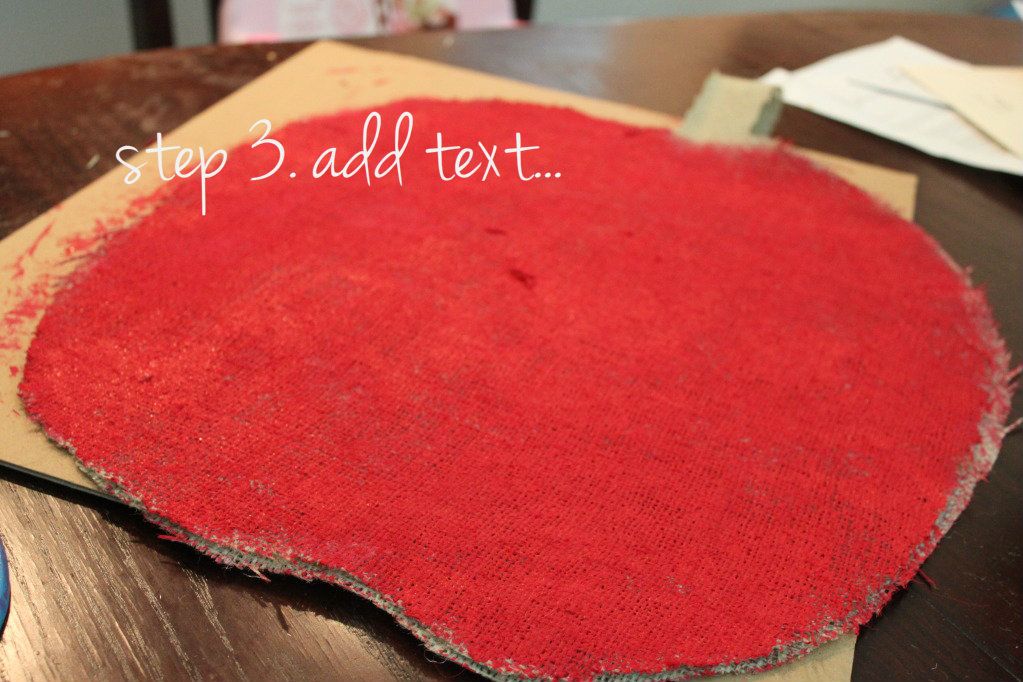
i cut out my "Stencil" laid it on my apple, painted inside of it, and forgot to take pictures of it. :) (i used puff paint b/c that's what i already had on hand).
once that was dry i added in the polka dots. now this is where it starts to get a little advanced. you may or may not have these high-tech tools lying around. i wanted the polka dots to be perfect, so i had to break out the big guns. don't feel intimidated by my cutting edge materials...
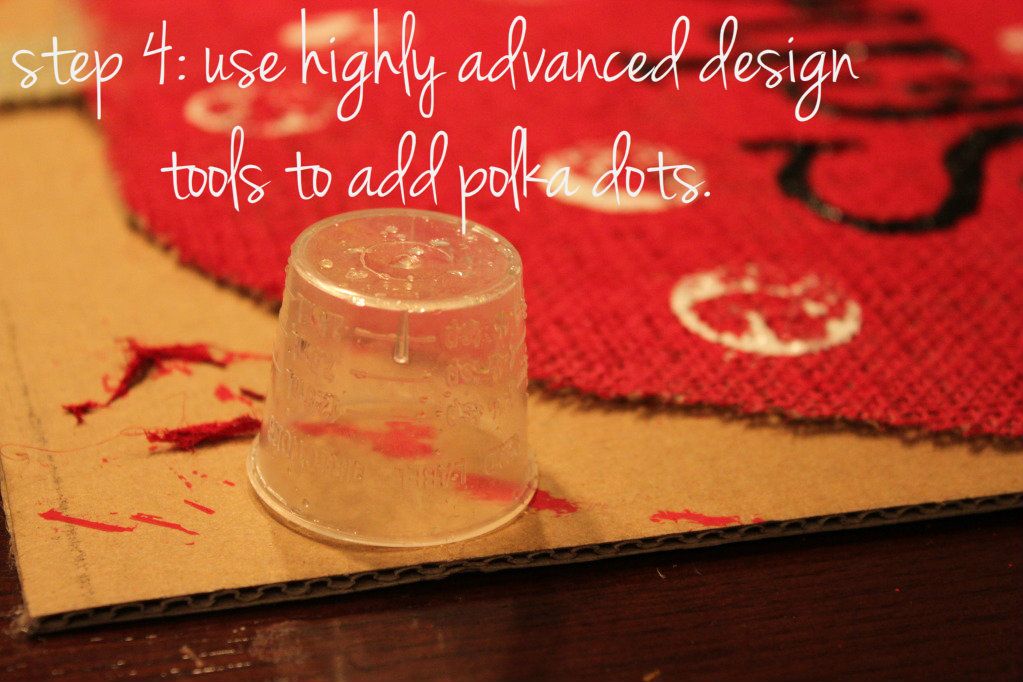
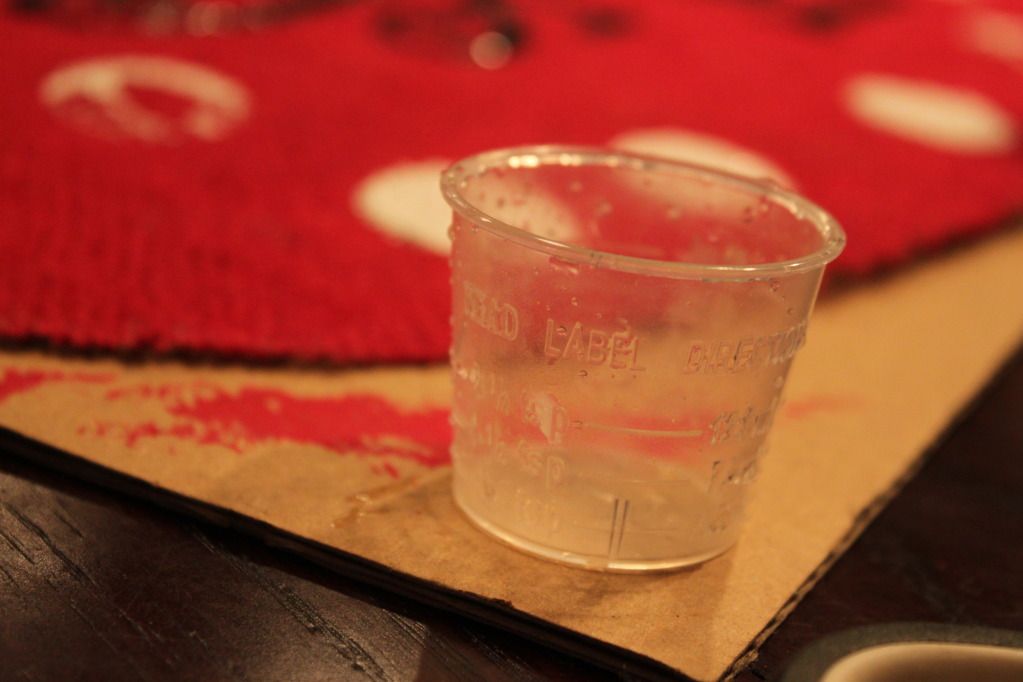
yes, that's right. i used a medicine cup to make polka dots. hey, it worked, didn't it?! :)
it basically just made the outline when i stamped it onto the apple, so i was able to go back and fill in the circle with my white paint.
easy and cheap! ("that's what she said")
.... that was for you, sarah ;)

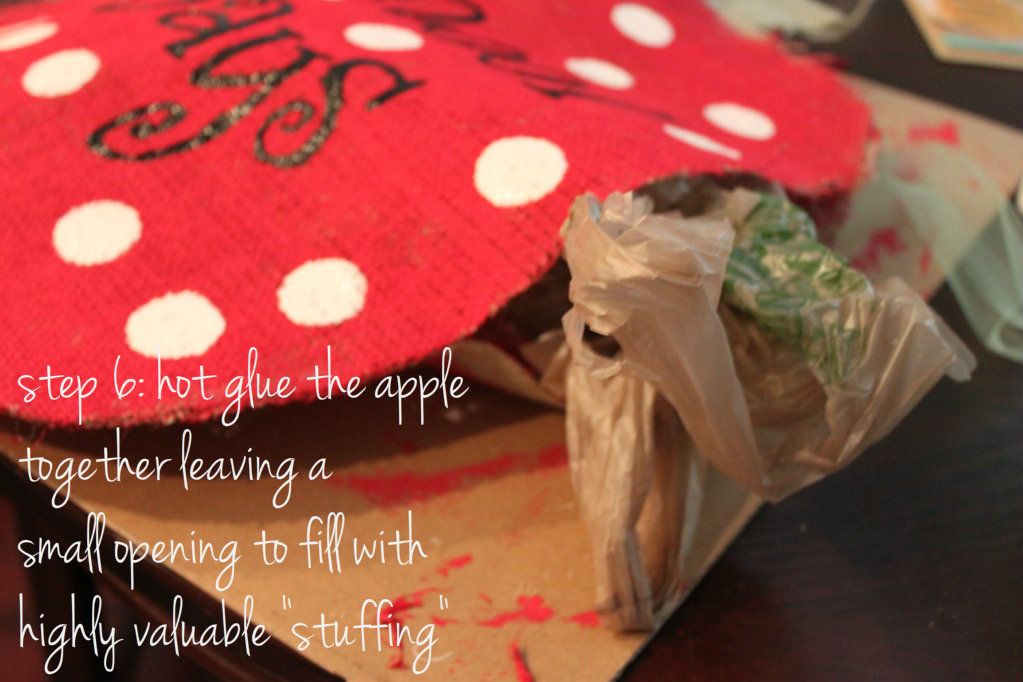
once the paint dried, i used my hot glue gun to glue the pieces together and left a small opening so i could fill it up. again, please do not let my "expensive" and "hard to find" materials make you feel inferior in any way.
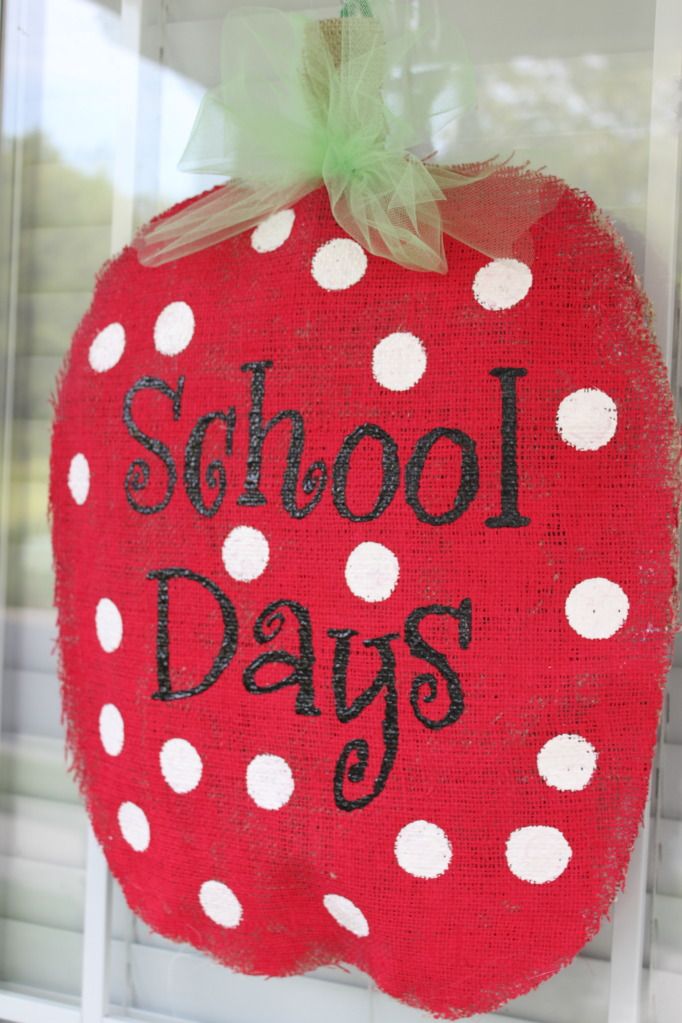
finally, i added a pipe cleaner (another "just lying around" kind of thing) to the back and some tulle to the stem and it was ready to the hang it on the door....
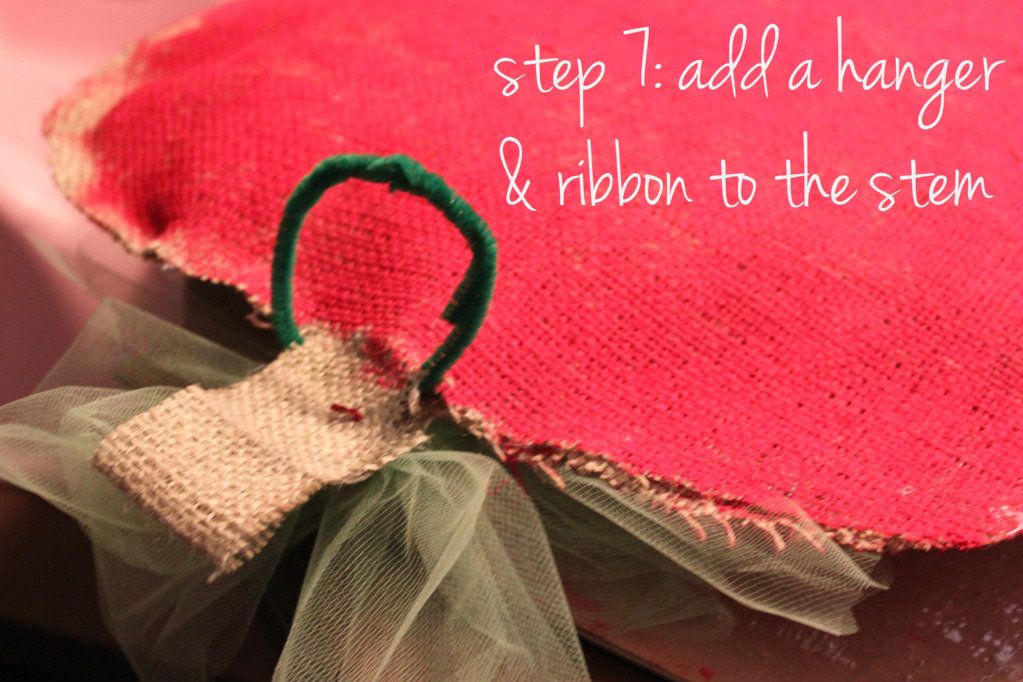
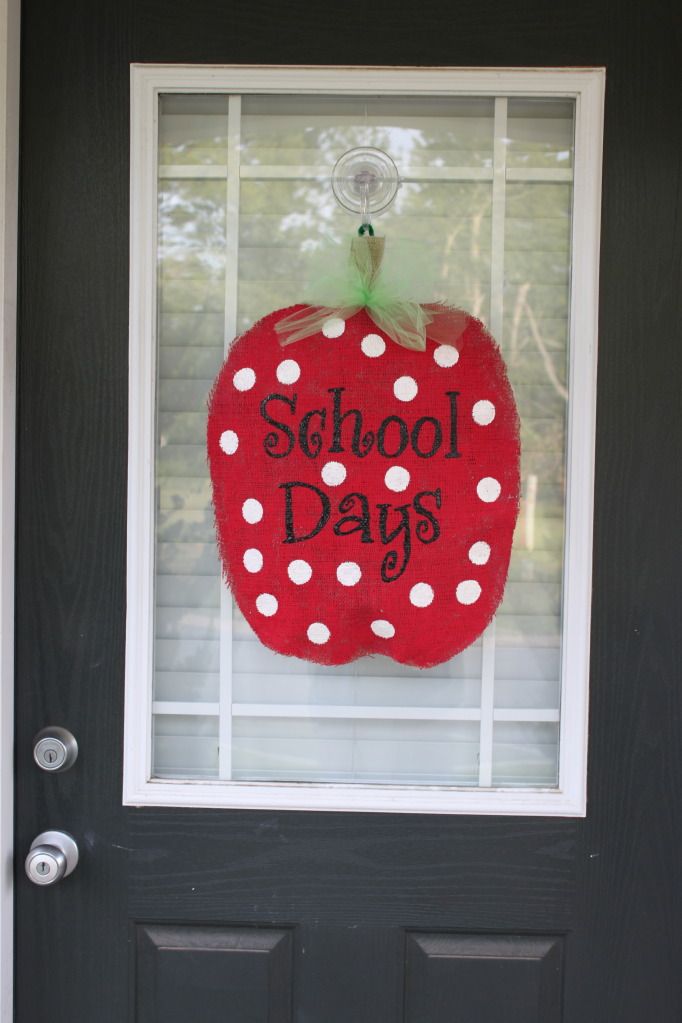
voilà!
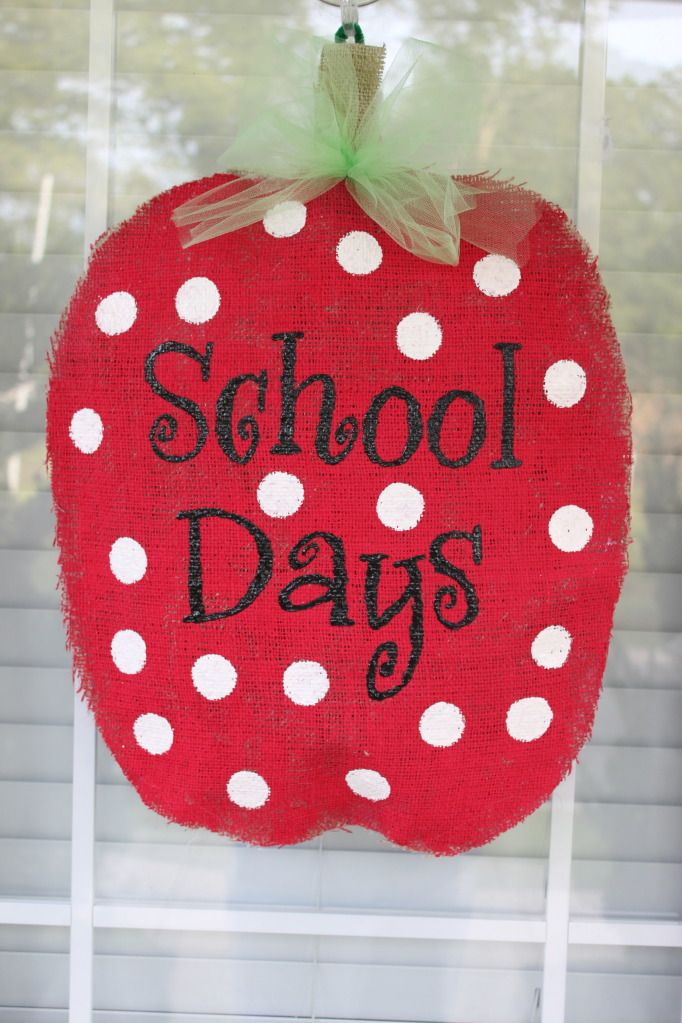
the burlap door hanger is complete....
now let's enjoy the last few weeks of summer! :)