this is definitely one of those "fluff" posts, where there's not a whole lot of significant content. so if you're not interested in silhouettes, making tshirts, or halloween, then you might want to just wait until tomorrow's post to read.
today is all about DIY with the silhouette!
i made these shirts for the girls for halloween....
obviously, laylay is as shocked as i am - ha! :)
 |
| {please ignore the chocolate milk running down the ghosts's face....it's par for the course w/laney} |
the ghost shirt i totally copied from my friend miranda. and the pumpkin shirt is another easy one that i'm sure is not really an original idea (seeing as how i just used the silhouette shape to make it). but, regardless - they were cheap, easy to make, and turned out pretty cute. what more could i ask for?

before i tell you how i made them, let me just say that i've been a nervous wreck typing the word "shirt" so many times. i'm so worried that i will leave out the "R". i've proofread this at least 100 times, but i still worry there are some "you-know-whats" unintentionally dropped in this nice, innocent little shiRt post. ;-) so if you run across one, let me know, okay?
the ghost shirts were probably the easiest ones to make. i pretty much followed miranda's tutorial from her blog.
i already had a black shirt for laney (it used to be libbi's - it's a garanimals (walmart) brand) and i picked up one for libbi from hobby lobby using my 40% off coupon. so i think i paid around $2.50/3.00 for it.
i ordered the tshirt flocked vinyl from expressions vinyl. if you have a silhouette or cricut machine and you're not ordering from expressions vinyl....you're missing out! i order almost every thing from them and not only is it cheap, it's usually here within days. it literally ships the same day i order. (they did not ask me to say this, i've just been really pleased with their company so i thought i would share!)
the flocked vinyl is different than the smooth vinyl because it has that "fuzzy" feel. i downloaded a few fun halloween shapes and decided on this cute, friendly, little ghost.

now, if i'm being honest, i'll tell you that i messed up. a lot. i tend to think i have the right settings when i don't. or have the vinyl loaded in correctly when i don't. or even have things aligned properly and i don't. there is a such a thing as a "test cut" but for some strange reason, i never think to use it until it's too late. so on round one, i messed up so many times that i only had enough vinyl left to make one shirt. and i made the mistake of making it for laney, not libbi.

poor libbi was completely beside herself that she didn't have a ghost shirt. such a poor, deprived child is she. and you better believe that she didn't let me forget it. thank goodness for fast shipping, because i heard about that blasted shirt at least ten times a day until it was finally made. :)

if you want more details on how the shirt was made, you can check out miranda's tutorial HERE.
if you have any questions, feel free to email me! :-)
 |
| {sister originally had on a cute little jean skirt, but decided she was better of without it...} |
the pumpkin shirts were a bit more work.... but still fairly simple. i used the smooth heat transfer vinyl for these also from expressions vinyl.

after finding a pumpkin shape and font i liked, i reversed the images (only after cutting them TWICE and forgetting to do this) and loaded the vinyl into the silhouette.
 |
| {laney...always a collector ;-)} |
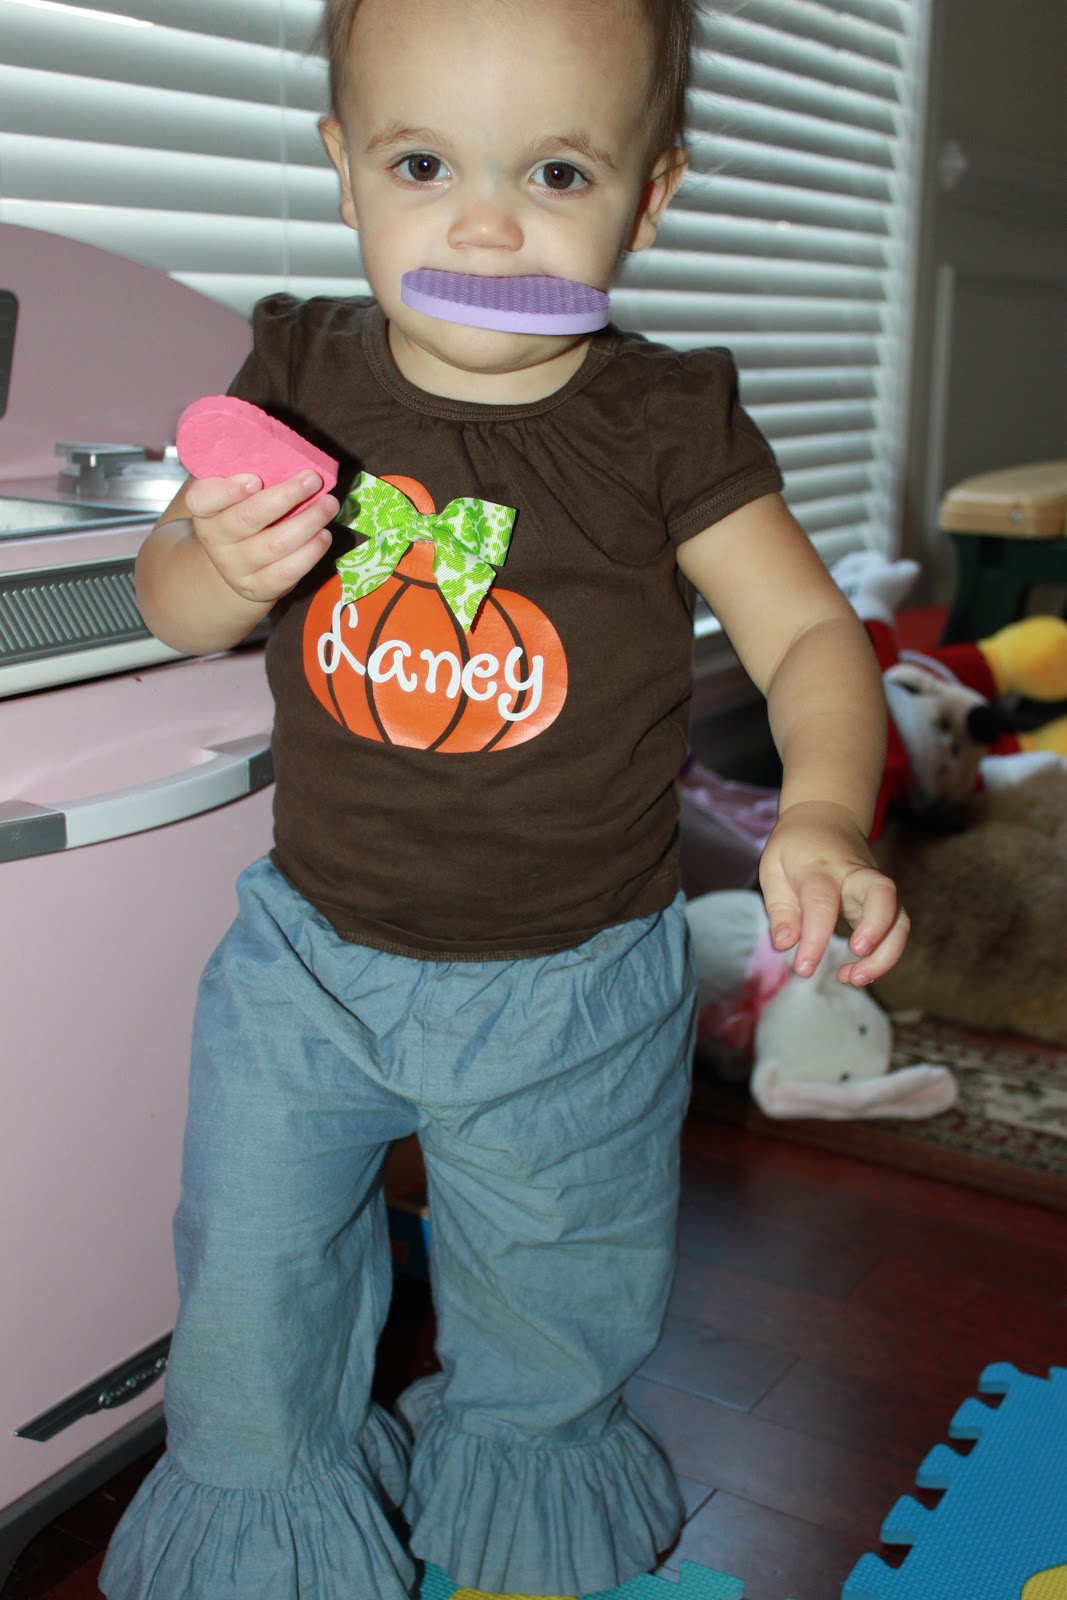
once it cuts, the backing peels off, leaving the shapes/letters that i cut. i cut out the orange pumpkin first and ironed it onto the brown shirts (i got these at old navy on clearance for $2!).
unlike the flocked vinyl, you don't have to wait for the design to cool off before peeling away the backing. i peeled it off and was left with my attached pumpkin.
i then repeated those steps with girls' names - except i used white vinyl. i ironed them on top of the already adhered pumpkin. easy!
lastly, i made a little bow and used fabric glue to attach it to the top of the pumpkin.
 |
| {unfortunately, this was the best picture i could get of the two of them} |
are my pumpkins perfectly aligned? no. are my letters straight? probably not. but as long as i don't study them too intently, i can avoid my eyes starting to twitch. kidding! :)
they're just a fun addition to our holiday wardrobes and most importantly, they're loved by the two cuties wearing them! that's all that matters. :)